WP SITES
3
0
9
5
C
o
d
e
d
T
u
t
o
r
i
a
l
s
&
2
9
7
P
l
u
g
i
n
s
Search
Search
New plugins
More new products
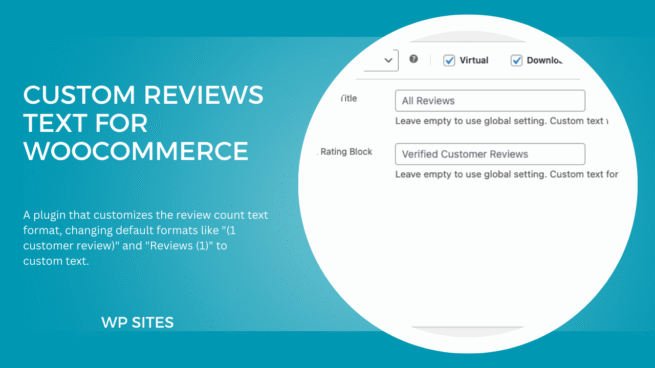
Custom Reviews Text for WooCommerce
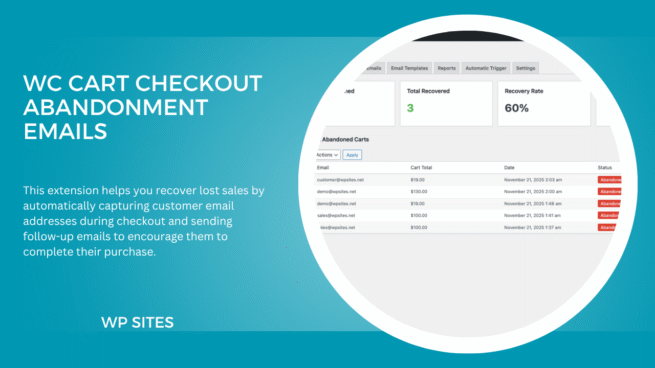
Checkout Abandonment Emails For WooCommerce
WP SITES STATS
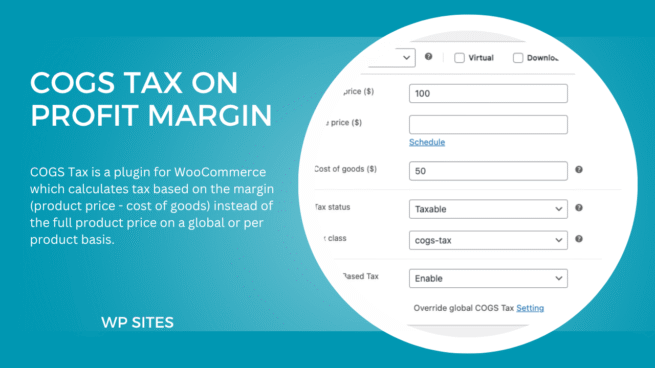
COGS Tax WooCommerce
Custom Plugins & Coded Tutorials from $75
How to Automatically Update Your Product Price Using a Free Gold API With WooCommerce
Dec 2, 2025
—
by
Brad Dalton
How to Modify the Single Product Rating Block Text for WooCommerce
Dec 2, 2025
—
by
Brad Dalton
Prevent Failed Orders From Spam Bots On Your WooCommerce Checkout Page
Nov 30, 2025
—
by
Brad Dalton
Black Friday Mega Deal
Nov 29, 2025
—
by
Brad Dalton
How To Track Emails Sent From Your WP Mail Plugin
Nov 28, 2025
—
by
Brad Dalton
WP AI Power Tools Launches Massive Black Friday Sale — 90% Off All Plugins!
Nov 27, 2025
—
by
Jason
How to Setup Checkout Abandonment Emails for WooCommerce
Nov 22, 2025
—
by
Brad Dalton
How to Calculate Tax on Profit Margin Using COGS for WooCommerce
Nov 14, 2025
—
by
Brad Dalton
How to Index Product Gallery Images – WooCommerce
Nov 12, 2025
—
by
Brad Dalton
How To Create Checkout URLs for WC Products
Nov 9, 2025
—
by
Brad Dalton
1
2
3
…
310
Next Page
→