
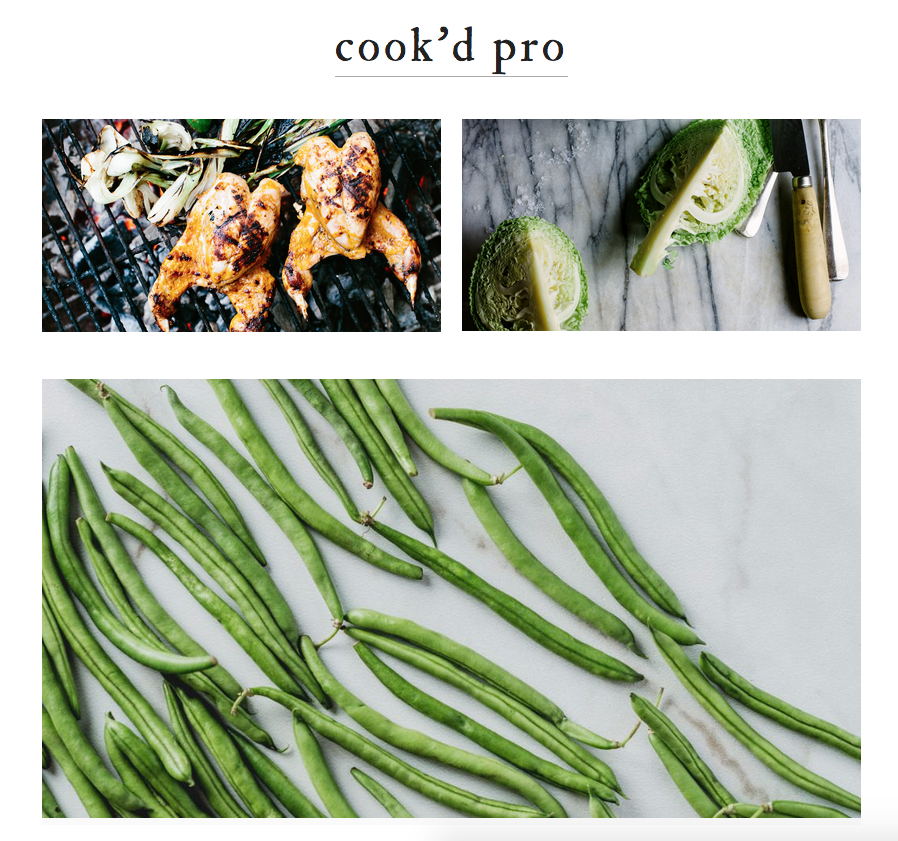
In this tutorial, you’ll learn how to create a custom field with meta box using the Advanced Custom Fields plugin. This is one of the best ways to add a second featured image or post thumbnail in WordPress.
Using a theme framework like Genesis enables you to display the second image in any hook location.
On top of that you can add a conditional tag to control exactly which pages your image displays on.
The meta box also makes it easy to add different images to the same location.
There’s 3 simple steps you need to follow to make all this possible:
- Add the PHP code in a function for your custom field and image to your child themes functions file.
- Create the custom field & meta box using the Advanced Custom Fields plugin
- Upload an image using the new meta box.
The PHP Code
Here’s the code you can copy from the view raw link and paste at the end of your child themes functions.php file using a text editor.
Create Custom Field & Meta Box
Firstly, you’ll need to install the custom fields plugin which makes this happen.
WordPress already include custom fields built into the core. The Advanced Custom Fields plugin extends this feature further so you can also create nice meta boxes customized to your exact needs.
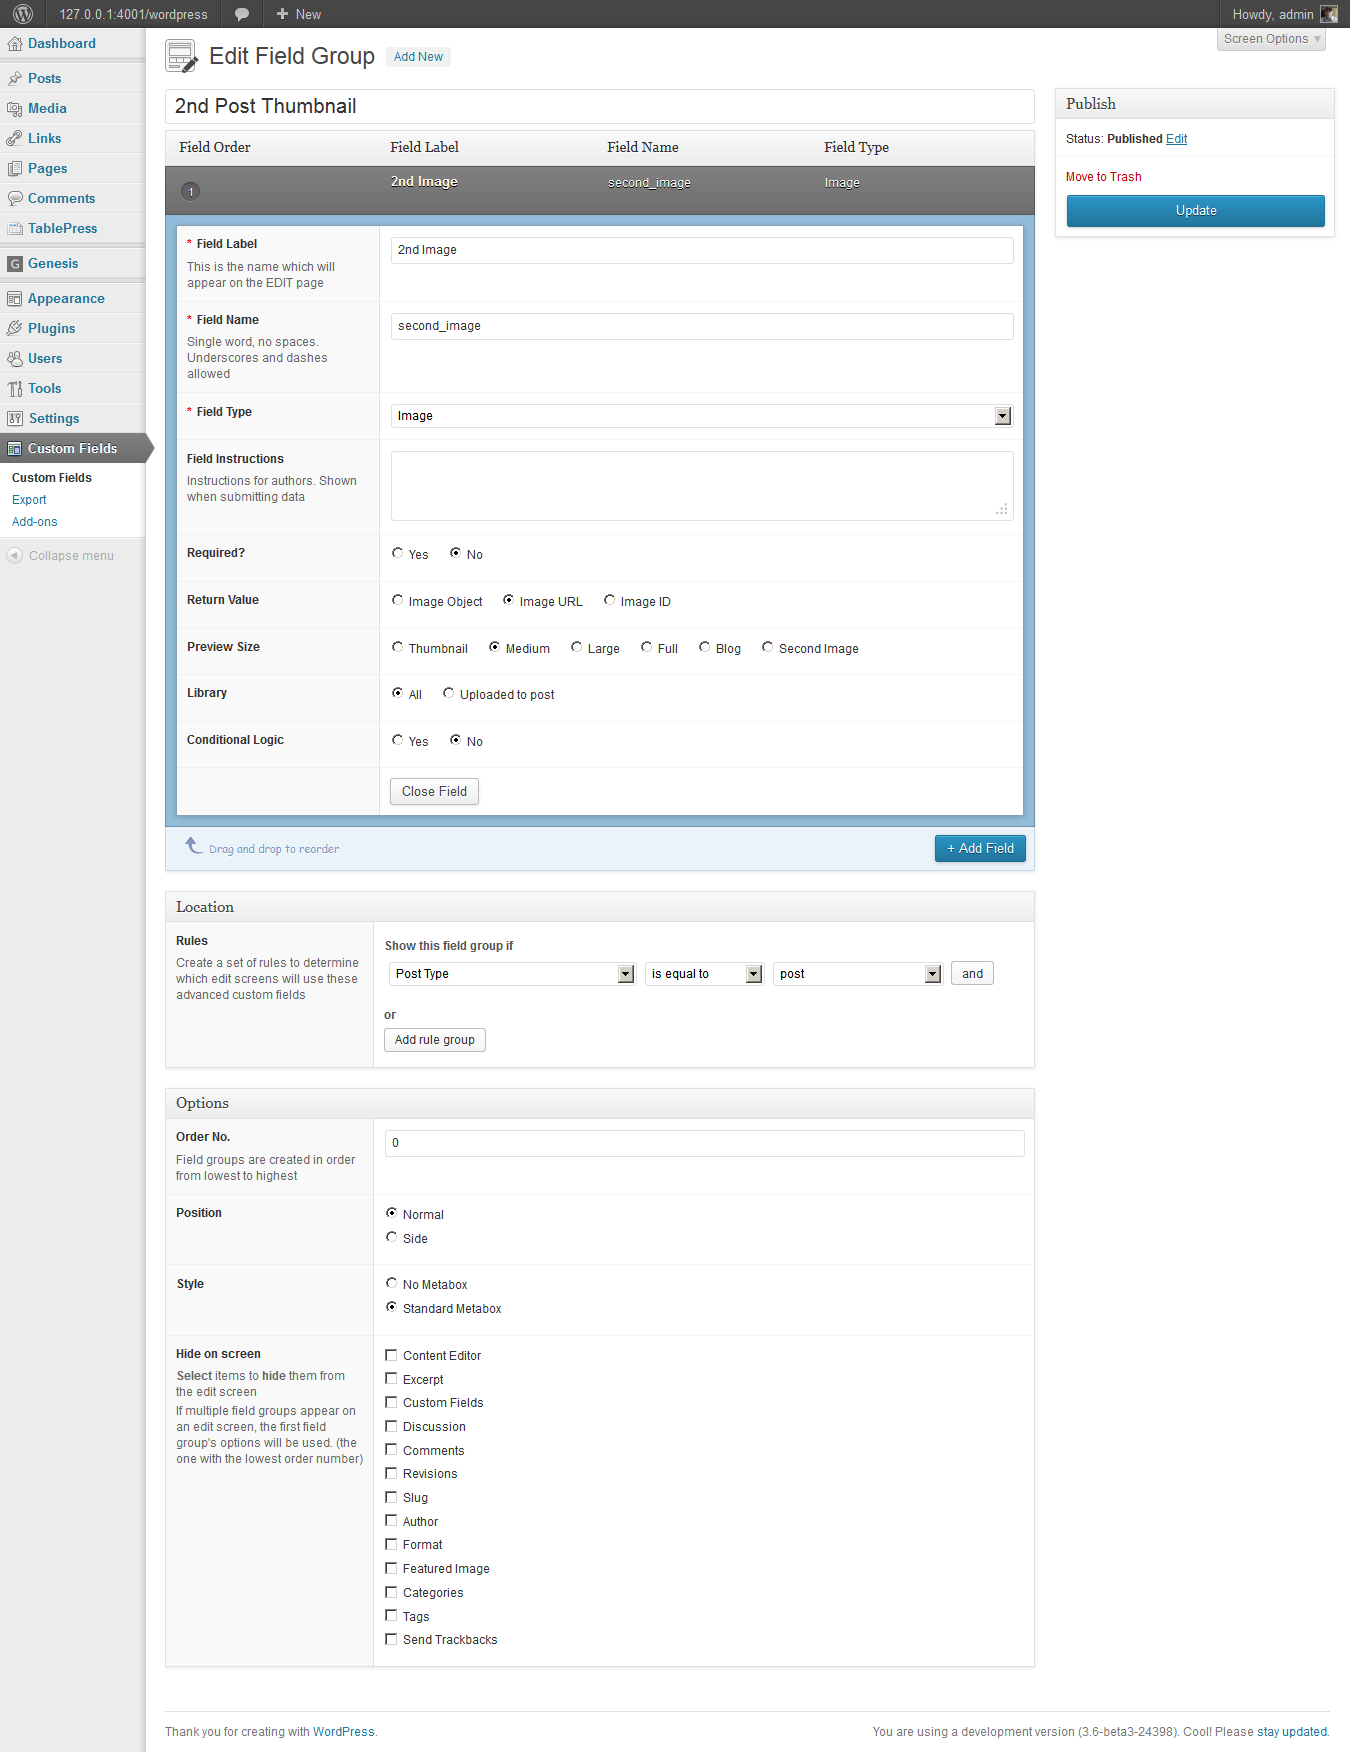
Here’s a step by step tutorial about how to create a meta box which hooks into the code you added to your functions file for the custom field.
Here’s an image showing you the exact settings i used. Click To Enlarge.
Need more advanced code for your images? Here’s some code snippets from the plugin author.
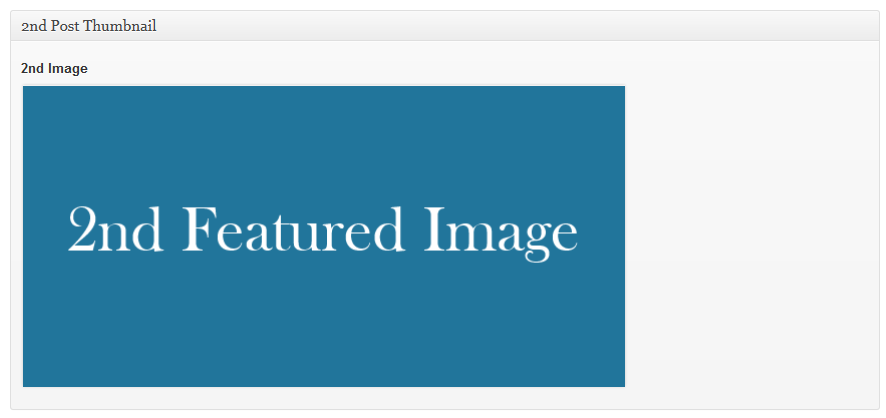
Add Second Image
You should now see a new meta box under all edit post screens.

You can easily change the theme specific hook so your image displays in another location and also change the conditional tag as well.
Custom Image Sizes
Here’s a short tutorial about how to add a custom image size for your new featured image in your child themes functions.php file.
When you add a new size, WordPress will generate an image to that exact size every time you upload a new image.

Leave a Reply
You must be logged in to post a comment.