
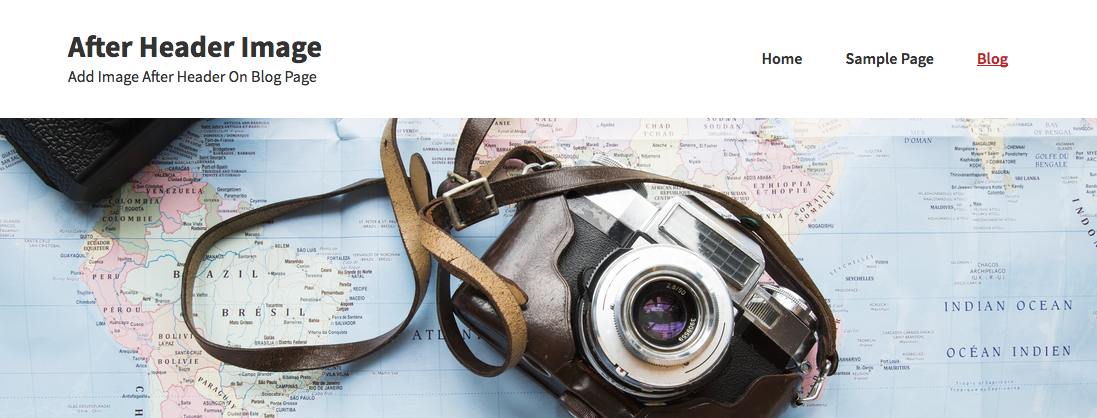
This template enables you to display a responsive image after the header. You can add the image named default.jpg to your child themes images folder or via the WordPress customizer using the setting named Blog Page Template Header.
Video Demo
Shows how the template named Blog Template Header loads the after header image on the blog page only.
Tested using the genesis Sample child theme by StudioPress & the Foodie Pro theme by Shay Bocks.
Template Installation
There’s 4 steps :
Step 1 : From the download folder, upload the folder named after-header to your child themes root directory.
Step 2 : From the download folder, copy the PHP code from the functions.php file and paste it at the end of your child themes functions.php file;
Step 3 : From the download folder, copy & paste the CSS from the style.css file to the end of your style sheet and clear caching if needed.
Step 4 : Select the Template named Blog Template Header from the Page Attributes box on any Edit Page screen.
You can then upload an image named default.jpg to your child themes mage folder or add it the image via the customizer setting named Blog Page Template Header.
Register or login to access the download folder :
Was This Tutorial Helpful?