
Here’s all the steps you need to take to create you own block plugin named sample using Mac. Includes video.
THIS IS A TUTORIAL FOR ABSOLUTE BEGINNERS!
In your applications folder, you’ll need to install :
We’ll be testing the plugin locally using local by FlyWheel.
This tutorial assumes you have already installed node and have local running.
Once installed, you can start using command line which is preinstalled in Mac and named Terminal.
On your Mac, Go to Finder > Applications > Utilities > Terminal and click Terminal to open.
Now you’ll need to enter commands like this and press enter :
cd ~/Local\ Sites/october-2024/app/public/wp-content/pluginsNote : Modify the above path to your local sites plugin folder so it matches your own path.
Whenever you run commands in Terminal, you need to make sure you are in the right folder. Initially, you’ll be in the plugins directory but after you have run create-block, you’ll need to make sure you’re in your new block plugin folder. In this example, it’s named sample.
There’s 2 ways to create your block plugin.
Now you can enter the 2nd command to create the block plugin in your plugins folder.
npx @wordpress/create-block- If you use the above method, Terminal will ask you to enter values in command line for the plugin header.
2. Or, you can skip the details and take the simple route. The following command entered into Terminal will create a block plugin named sample.
npx @wordpress/create-block@latest sampleOnce complete, you’ll find a folder in your local wp-content/plugins folder which includes all the block files you need to work with.
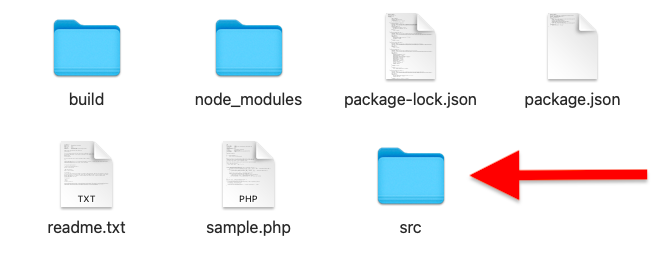
Note : Do not touch the files inside the build or node modules folder. You should only edit the files inside the src ( source ) folder and main .php file file which in this case is named sample.php.
If terminal closes, you’ll need to navigate back to the correct plugin directory before you run start :
cd sampleMake sure the plugin folder name above matches your new plugin folder name.
Sometimes you may have to get the path like this :
cd ~/Local\ Sites/site-b/app/public/wp-content/plugins/sampleNext step is to enter a command into Terminal to start the build :
npm startOnce completed, you can then modify the files and build your plugin.
npm run buildWork out of the scr folder and do not touch the files in the build folder as these are updated when you run npm commands.
To create a new block for WooCommerce, use this command in Terminal :
npx @wordpress/create-block -t @woocommerce/create-woo-extension sampleIf you want to extend the cart and checkout blocks, you can use a template like this and modify it.
npx @wordpress/create-block -t @woocommerce/extend-cart-checkout-block your_extension_nameSwap out sample in the above command with the name you want to use for your plugin folder.
Next time we’ll take a look at adding settings to the block using the Block Supports API.
Related Tutorials
- Testing Dynamic Block Attribute Rendering
- Fix @woocommerce/extend-cart-checkout-block Build Errors
- How to Create a Production Ready Plugin From Your Block Source
- ( external ) Block Resources
- ( external ) Block Supports API
Leave a Reply
You must be logged in to post a comment.