
This guide shows you how to attach files directly to WooCommerce order emails for individual products. When customers place an order, the files will be automatically attached to the selected order emails.
Step 1: Install the Plugin
- Go to Plugins > Add New in your WordPress admin
- Search for “Email Attachments for WooCommerce“
- Install and activate the plugin
Step 2: Add Files to a Product
- Go to Products > All Products in your WordPress admin
- Click Edit on any product
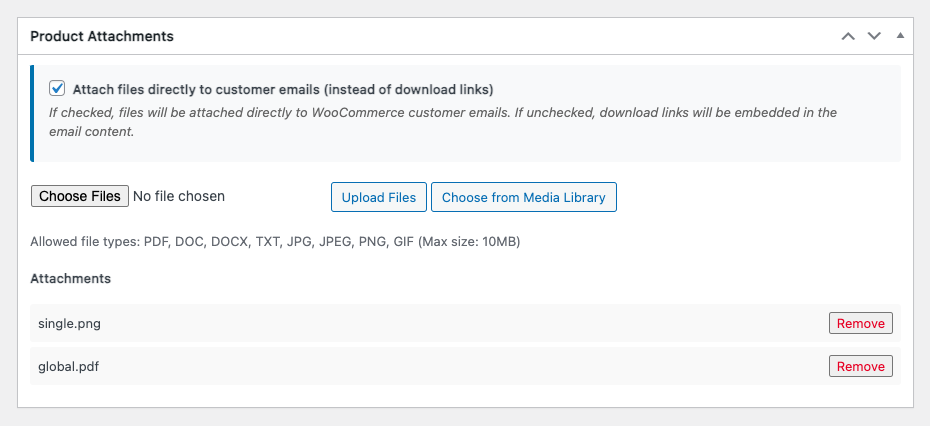
- Scroll down to find the “Email Attachments” meta box
- Check the box: “Attach files directly to customer emails (instead of download links)”
- Click “Upload Files” or “Choose from Media Library”
- Select your files (PDF, DOC, DOCX, TXT, JPG, PNG, GIF – max 10MB)
- Important: Click “Update” or “Publish” to save the product
Step 3: Test It
- Place a test order with the product
- Check the order confirmation email ( Use a SMTP plugin if required ).
- You should see the files attached to the email
That’s It!
Now every time someone orders that product, the files will be automatically attached to the order emails you select from the WooCommerce > Email Attachments settings page.
Plugin Used: Email Attachments for WooCommerce
Was this helpful?
Thanks for your feedback!
Leave a Reply
You must be logged in to post a comment.