
In this tutorial, i’ll show you how to add text, HTML, Images or any other type of content outside the content area of a post or page.
On top of this, you can also use the WordPress editor outside the content area to add content exactly the same as you would with the default editor.
There’s 2 simple steps involved:
- Simply install the free Advanced Custom Fields plugin.
- You’ll also need to add a few lines of PHP code to your child themes functions.php file.
Here’s a screenshot of what your post/page edit screens look like after you’ve completed both steps.
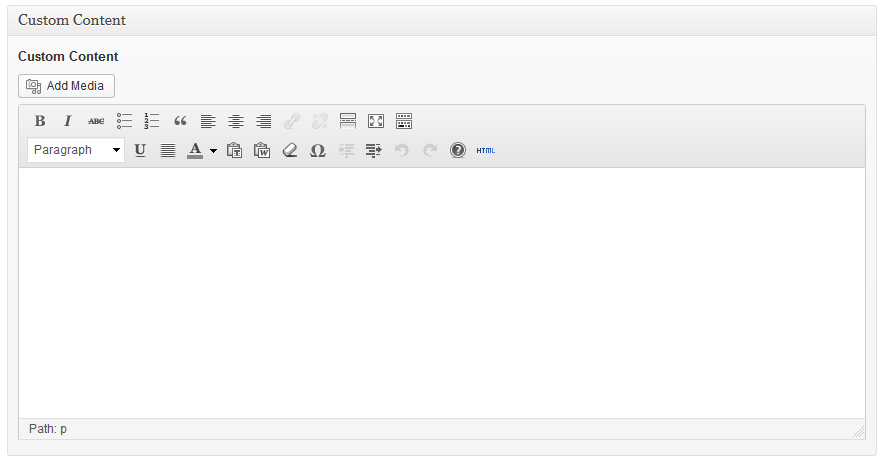
The above screen shot shows a second smaller editor has been added to your edit screens. You can control where this editor is displayed on your screen and which screens its displayed on using the plugins settings for Location > Rules and Options > Position.
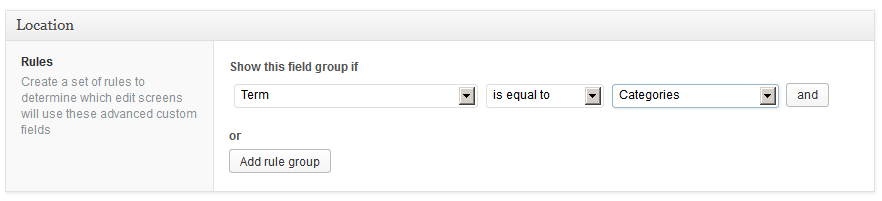
Custom Fields Settings
Here’s the settings i used to add the small editor for custom content.

Custom Fields PHP Function
Simply copy this PHP code from the view raw link and paste it at the end of your child themes functions.php file using a text editor like Notepad++.
Other Theme Locations
You can easily change the hook position if you want your content to display in another location like after posts.
And you can easily change the conditional tag in the code to display your custom content on archive pages like your category archives.
add_action('genesis_before_content_sidebar_wrap', 'custom_content');
function custom_content() {
if ( is_category() && genesis_get_custom_field('custom_content') )
echo '<div class="custom-content">'. genesis_get_custom_field('custom_content') .'</div>';
}
You’ll also need to change the plugins custom fields Location settings to something like this.
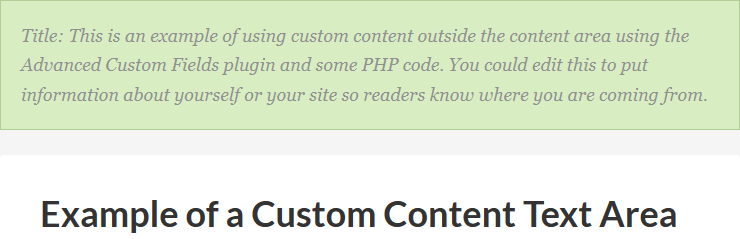
Styling Your Content Without Adding CSS
In the example below, i haven’t added any CSS code however i have used the existing class for the comment form allowed tags in the PHP code snippet below.
Code which styles your custom content the same as the screenshot above:
add_action('genesis_before_loop', 'custom_content');
function custom_content() {
if ( is_singular(array('post', 'page')) && genesis_get_custom_field('custom_content') )
echo '<div class="form-allowed-tags">'. genesis_get_custom_field('custom_content') .'</div>';
}
If you’ve already added CSS code for creating colored content boxes, you could use the class for the boxes in your PHP code like this:
add_action('genesis_before_loop', 'custom_content');
function custom_content() {
if ( is_singular(array('post', 'page')) && genesis_get_custom_field('custom_content') )
echo '<div class="content-box-green">'. genesis_get_custom_field('custom_content') .'</div>';
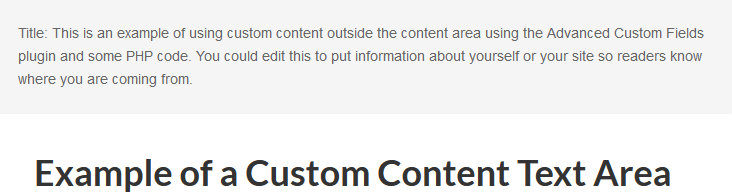
}And this is what it may look like above your post or page title:
Otherwise you can simply use the new class the PHP code generates (.custom-content) and add your declarations to it in your child themes style sheet.
I hope this tutorial has given you a better understanding of how to add custom content outside the content area your WordPress editor displays.
Leave a Reply
You must be logged in to post a comment.