
People love images, especially nice looking ones don’t you think?
If you want to make your plugin page on WordPress.org look appealing, why not add some nice looking screen shots of your plugins features.
After 5 hours of studying various tutorials on the subject, i’ve worked out one of the best ways to add screen shots to the plugin directory.
I could not find any clear documentation on this matter so i thought i’d write about it.
I’ll describe what i think is the best way to add screenshots to your plugins page on the official WordPress plugin directory.
What Images To Take
In my opinion, its best to take screenshots of both the backend and front end features your plugins produces.
Image Sizes
The best image sizes are the ones which don’t need scaling/resizing.
If you can, use 530 px width.
Screenshot Application
I like Snagit as it enables you to create nice looking screenshots.
You can also create effects, use color and many other features to make your images look more appealing.
Naming Screen Shots
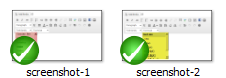
Name your images:
screenshot-1
screenshot-2
PNG file format or JPG
Adding Images To Repository
The correct location to add your images is in your Assets folder.
After naming them, simply drag them into your assets folder.
Displaying Screenshots On WordPress Plugins Page
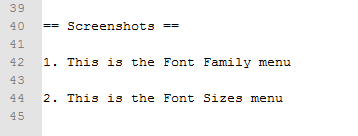
Simply use:
1. Add your screenshot description here for your first image
2. Add your screenshot description here for your second image
And so on.
Readme.txt File
Add the description for each image under the screenshots heading in your trunks readme.txt file
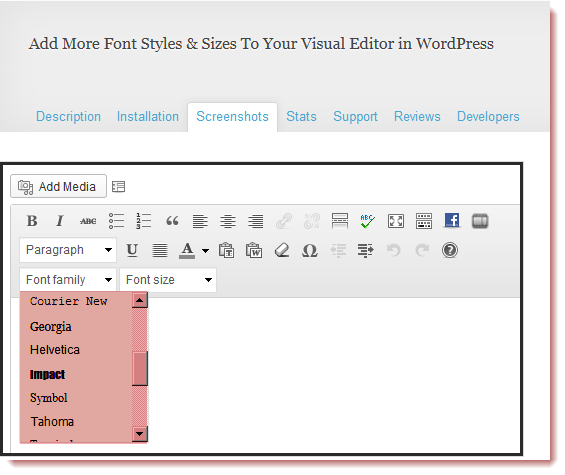
This will display your images under the screenshots tab on your WordPress.org plugins page menu.
Update Before Commit
Update using your SVN client before committing.
Screenshots On Installation Screen
When a new user clicked the install button after finding your plugin, they’ll also get the chance to view screen shots of your plugin as well.

More Useful Tips For Creating A Better Plugins Page
You might also want to run your readme.txt file through the validator.
You could also use the online generator to create your readme.txt file. At the same time, it might be a good idea to also improve your plugins readme text file as this will also get you more downloads.
Leave a Reply
You must be logged in to post a comment.