
This tutorial for a client and members is a more complicated version of the previous post about how to add a image after the header in the Ambiance Pro themes index.php file.
This version extends further by using Backstretch jQuery and the flexibility of the customiser as you can see in the following image:
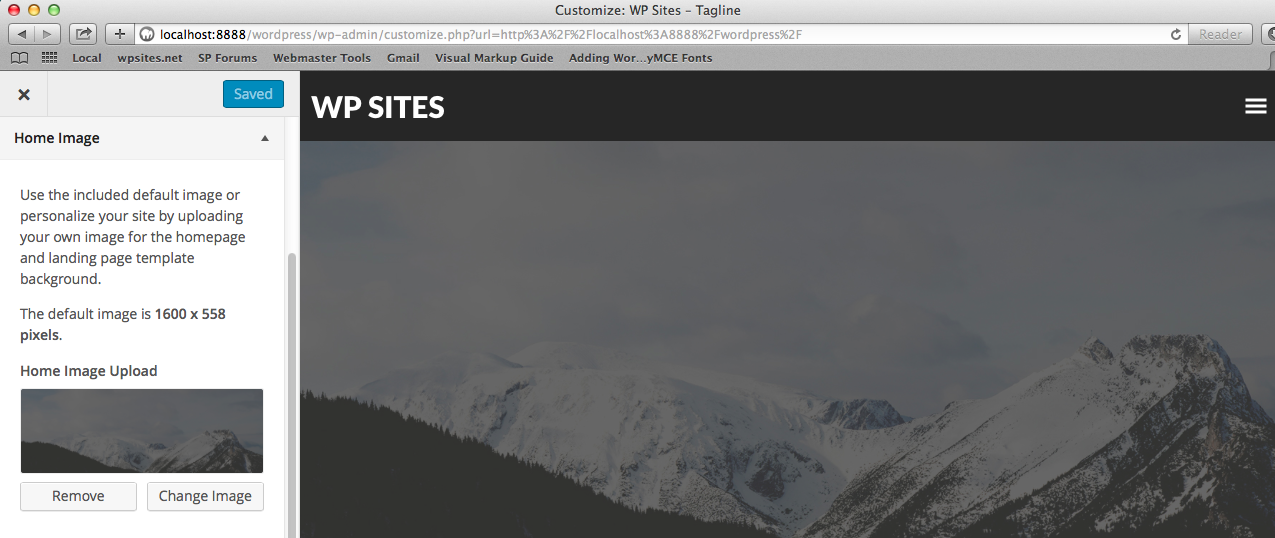
This solution is better because it stretches the image according to the screen size and enables you to try different images simply by adding and removing them in the customizer.
Tested on the Ambiance Pro themes index.php file which is used for the front page.
There’s 6 steps that you need to take to complete this tutorial:
- Load the jQuery script directly from the index.php file and hook in the div class.
- Add a new .js file to the js folder specifically for the front page image as we’re using a different class.
- Add a default image to your child themes images folder.
- Add the customize.php file to your child themes lib folder.
- Load the new customize.php file from functions.php
- Add some basic CSS to your child themes style.css file
1st step
Leave a Reply
You must be logged in to post a comment.