
The code in this download folder enables you to add an image via your customizer to your nav menu. In this case, the primary menu however you can change the name of the location in the code to secondary or any other menu location.

Demo Video
Shows the image from the customizer added as the first primary menu item in the site header on desktops and before the menu items in the mobile responsive drop down menu.
Tested using the Genesis Sample child theme by StudioPress however will work in any WordPress theme however the CSS may need tweaking.
Installation Steps
There’s 2 steps.
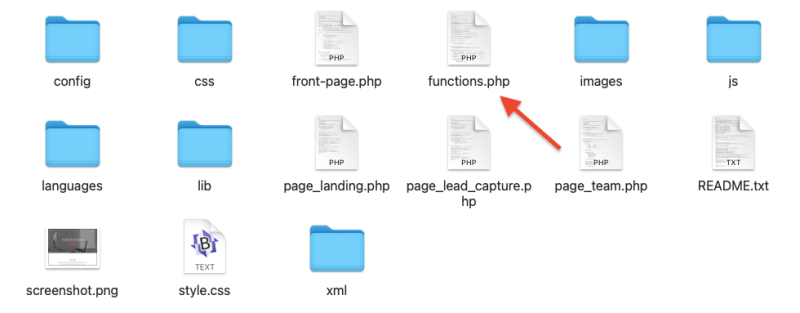
- # Copy & paste the PHP code ( excluding the opening PHP tag ) from the functions.php file to the end of your child themes functions file.
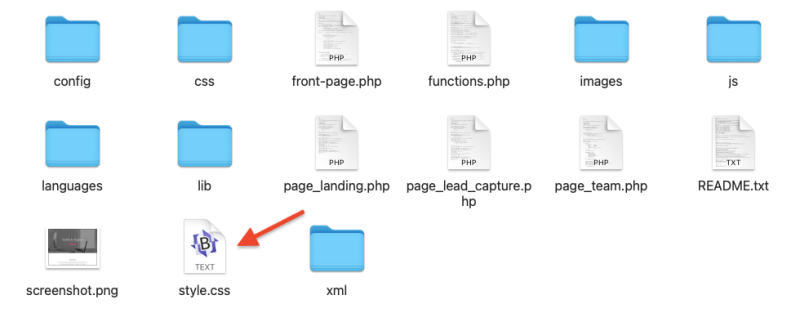
- # Copy & paste the CSS from the style.css file to the end of your style sheet and clear caching and minification.
Once you’ve installed the code, you can then upload an image named logo.png to your child themes images folder which displays by default unless you change the image using the customize > Nav Menu Logo setting.
Hide Image In Responsive Menu
Add this CSS to your style sheet if you want to remove the image when the responsive mobile menu is active.
@media only screen and (max-width: 960px) {

.genesis-nav-menu .menu-logo {
display: none;
}

}
Leave a Reply
You must be logged in to post a comment.