
There’s at least 3 ways to use PHP code to add featured images before and after single post titles & archives.
- There’s code for use with older themes running the old XHTML markup
- You can use the new code which works with newer themes running HTML 5
- And there’s also code which works based on the Genesis > Theme Settings > Content Archive settings
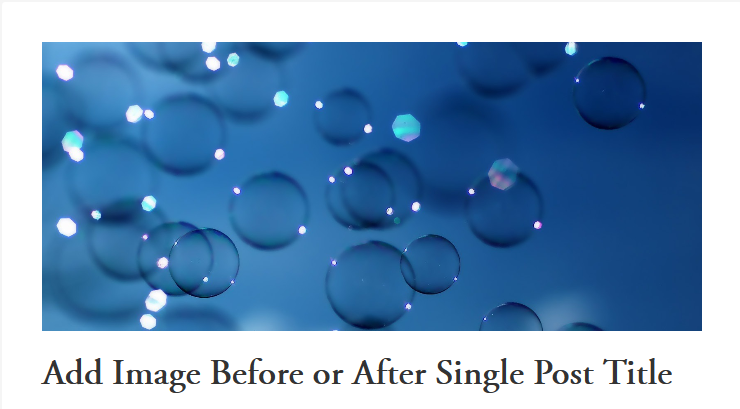
Here’s an example of what your featured images will look like on both single posts and archive pages using any of these code snippets:
Here’s the PHP code you can paste at the end of your child themes functions.php file.
And the CSS code you can add at the end of your child themes style.css file to display an image before your post title on archive pages and single posts.
Change Position of Image
You can change the position your image is displayed using at least 2 methods separately or together:
- Add a 3rd parameter for positioning priority to your function (recommended for HTML 5 users)
- Change the hook position (for either XHTML or HTML 5)
Fixing Double/Duplicate Post Archive Images
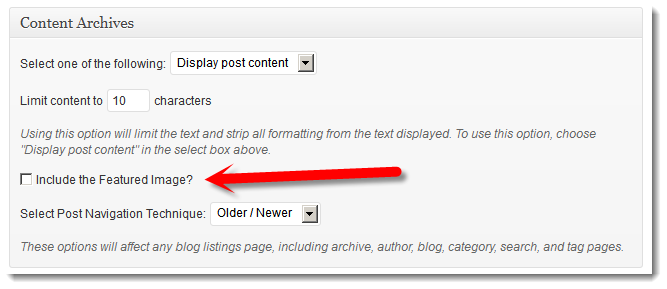
If you’re finding 2 images are being displayed on your archive pages like your blog or home page, it may be because you have the above default code in your functions file depending on which child theme you are using.
Go to Genesis > Theme Settings and uncheck the Include the Featured Image box and remove the above code from your child themes functions.php file.
Some of the StudioPress child themes like Streamline include the code by default to display an image before all posts titles on both single posts and archives pages.
If you’ve already set a featured image, you’ll see both a thumbnail and full size image on your archive pages which may not be what you want displayed.
Another reason is that you you may have added the image before the content in your editor rather than using the code to display the image you add as a featured image.
Leave a Reply
You must be logged in to post a comment.