
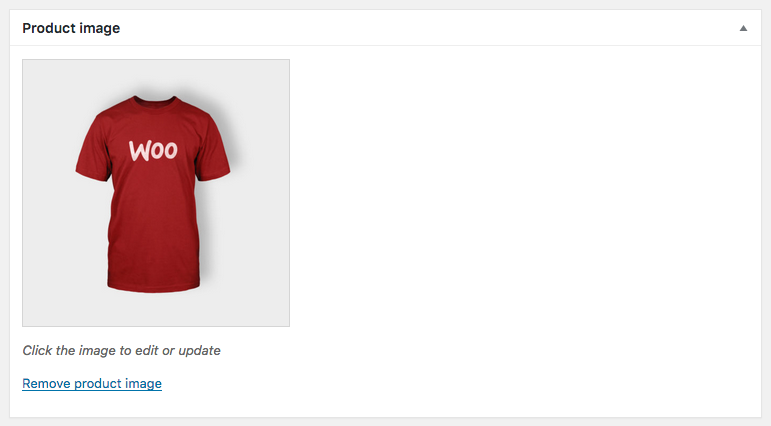
This solution enables you to modify the main single product image in WooCommerce.
This main image is the image added via the Product Image link which replaces the featured image on the Edit Product screen when WooCommerce is active.
Watch Demo Video #
Tested using the Lifestyle Pro child theme by StudioPress however will work in any Genesis or non Genesis theme.
The code in this tutorial lets you replace this main image on the single product page only. The image you add via the Product Image field as as seen in the above screenshot, is still displayed on all other pages and archives. This lets you replace the main image with a custom image on the single product page only.
Product Gallery Thumbnails #

This solution also displays any images added via the Product gallery thumbnails which isn’t the case when you don’t add a product image because the placeholder HTML is printed which doesn’t include gallery images.
Installation #
There’s 2 steps relating to usage of the code in the download folder :
Register or login to access the download folder :
Step 1 : Upload the single-product folder to your child themes woocommerce folder in your child themes root directory. Create a folder named woocommerce in your root directory if needed.
Step 2 : You can add the image using ACF or WordPress custom fields.
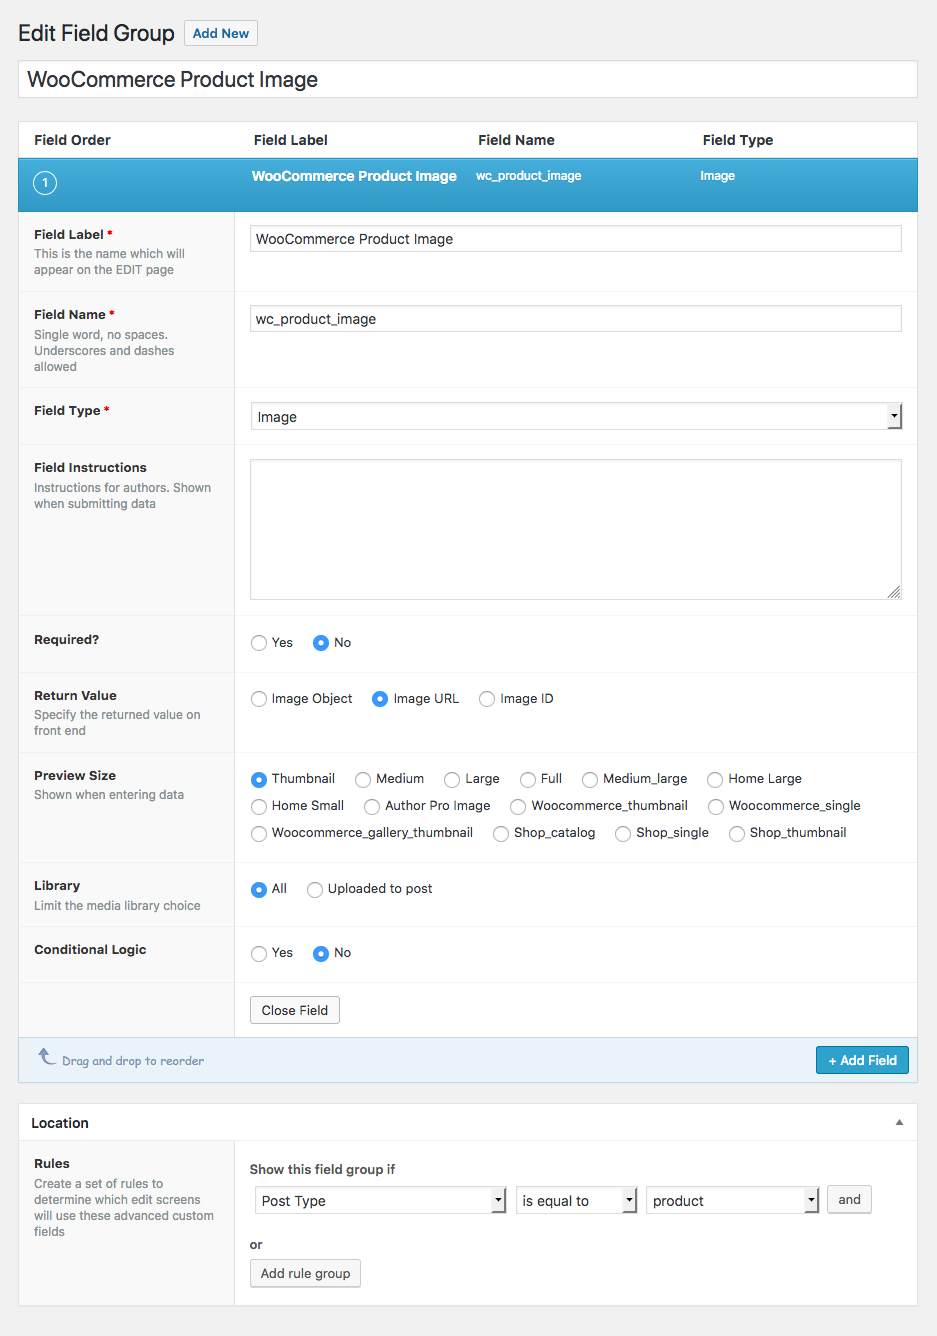
If using ACF free or premium version, create a new field like this :
If ACF is removed, the image you added will still display.
You can also add/replace the image using WordPress custom fields like this :

You’ll need to get the image id and add it to the custom field.
Use with the WooCommerce Genesis Connect plugin if using Genesis.
Leave a Reply
You must be logged in to post a comment.