
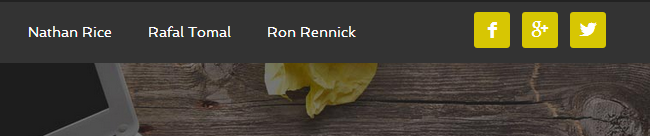
In this tutorial, i’ll provide the CSS code which enables you to display both a custom menu widget and simple social icons widget inline when populated in the header right widget area of any StudioPress theme.
Here’s what i’m referring to:
Simply add this CSS code to the end of your child themes style.css file.
.site-header .widget-area {
    width: 600px;
}

.simple-social-icons {
    float: right;
	margin-top: 10px;
}

.widget_nav_menu {
    float: left;
}
If you want to align the social buttons to the left, simply change the code above to this:
.site-header .widget-area {
    width: 600px;
}

.simple-social-icons {
    float: left;
	margin-top: 10px;
}

.widget_nav_menu {
    float: right;
}
Reduce the width of the .site-header .widget-area area to reduce the space between both widgets.
You can use this code as a guide to align other widgets you populate in the header right widget area of any StudioPress child theme.
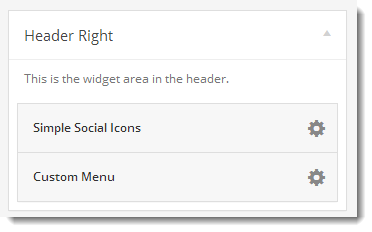
Widgets
Simply drag in the widgets you want to display inline.
You will need to add your own CSS to the Media Queries section of your child themes style sheet depending on which widgets you populate in the header right area.
Leave a Reply
You must be logged in to post a comment.