
Need to quickly add content to a specific area of your post or page? You could add your content using the WordPress editor but what if you want to display the content outside the content area of a post or page? What if you want to add different content in the same position but on a specific page only?
You could create a widget but the content you add to it will, by default, display site wide. Not only that, the content will be the same when what you want is to display different content in the same location when you need to.
A more flexible and powerful solution is to create a custom field which you can use selectively on any post or page. You can also change the content that displays in the same area of your theme.
The advantage of using custom fields is that once you create the function, you can use the same custom field on any page or post. You can take this even further and use it to display your content in any hook position your theme offers or using any WordPress hook. On top of this, you can also add a conditional tag so your content only displays when and where you want it.
Custom Field Code Example #
Simply add a custom function to your child themes functions.php file and you’re set.
add_action( 'loop_start', 'before_single_post_content' );
function before_single_post_content() {
if ( is_singular( 'post') ) {
$cf = get_post_meta( get_the_ID(), 'custom_field_name', true );
if( ! empty( $cf ) ) {
echo '<div class="before-content">'. $cf .'</div>';
    }
  }
}
Swap out loop_start with any genesis hook.
The above code enables you to display text or HTML after your entry title on any page or post and before the content area. All you need to do then is:
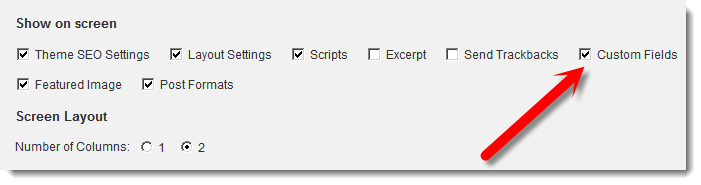
- Select the name of your custom field from the drop down menu in the Custom Fields module below your editor.
- Type in your text or HTML content into the native custom fields Value box to the right of the custom field name
- Click Update in your Publish box and view your posts or page on the front end.
Enter New Custom Field
Scroll down to the Custom Fields module below your editor and click create new.
Enter in the name of your custom field which you included in the function above. In this example its wpsitesdotnet
Then enter in the content you want to display on the page or post you are using the custom field, in the value field.
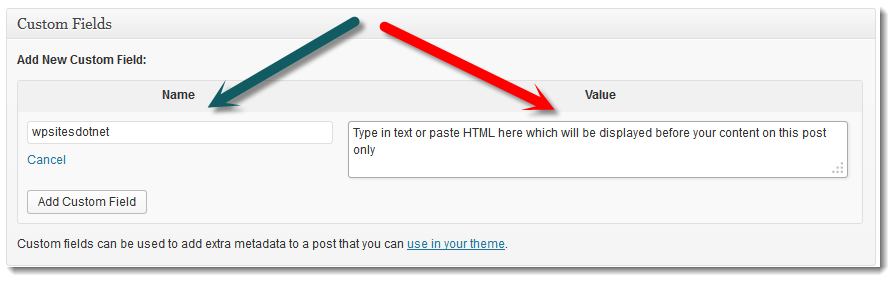
The name you enter must match the name in the function you added to your child themes functions.php file.
The value can be anything you like and generally is a text or HTML message that can be different or the same on any page/post you add the custom field.
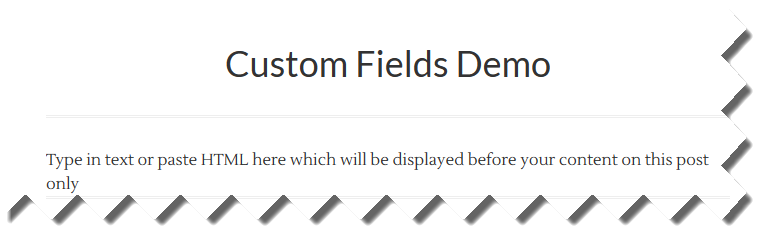
Sample Custom Field Content Displaying On A Single Post
Here’s what the custom field message looks like once you add it to a post.
Now you can use the same function and custom field name to display custom content on any page or post based on the location the hook you added to the function outputs your content.
Simply select the name of your custom field from the drop down menu in the Custom Fields module and add content to that specific page or post.
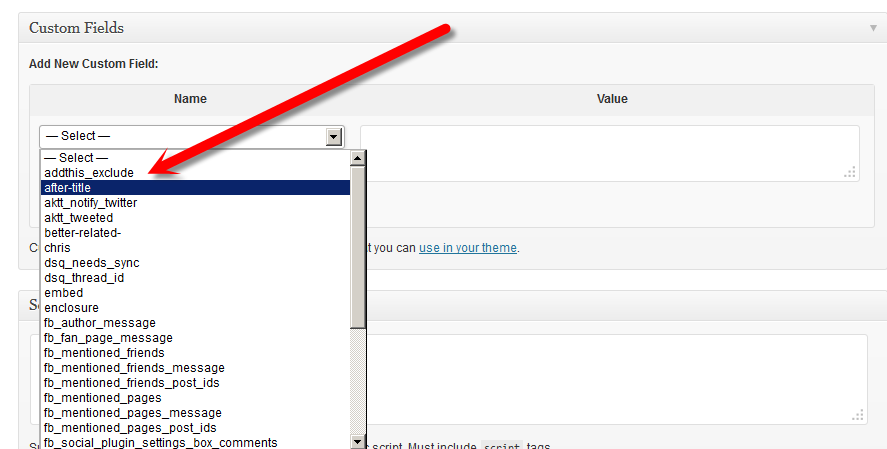
The name for your custom field will always stay the same however the value you add in the form of text content, can vary on different posts.

Why Use Custom Fields
Clearly custom fields offer more flexibility than creating custom widgets which output the same content in all locations you use them in like after post or header right widget. Custom fields enable you to use exactly the same or different hooks in your theme to position the output location of your content. They also give you the added flexibility of displaying different content in that hook position on any specific page or post you use custom fields.
Using custom fields with custom functions enables you to use both your themes hooks and conditional tags to control the position and the conditions your content is displayed. It doesn’t get much more powerful and flexible as this.
You can also style the output of your custom fields content adding a div class which will be generated by your custom function.
An example of a very popular custom field plugin is the Next Gen Gallery custom fields plugin. This plugin enables you to add a custom field which you can use for different purposes like add custom links to gallery image thumbnails.
Custom Meta Boxes
By default, WordPress include a list of custom fields which they have already added to the core. This may cause some confusion if you’re a beginner, therefore you might want to remove them or simple create your own meta box for one or more custom fields you have created.
Next time, we’ll take a look at how to add a custom meta box to all edit post screens which you can use with your custom fields.
Here’s the code for a custom meta box and we’ll also take a look at some plugins that do the same job for non coders.
Learn more about using custom fields in WordPress (Includes video)
Leave a Reply
You must be logged in to post a comment.