
This tutorial, tested on the latest version of the Lifestyle Pro child theme by StudioPress, enables you to add a full width image to your site header.
Here’s the default header:

And here’s the header with the padding removed so that the header image shows full size:

This fully mobile responsive solution, also enables you to display the search box, social icons and anything else in the header right widget area.
This solution also works in most StudioPress & Genesis child themes.
Here’s the demo video.
1. Demo Video – Header Image
This video shows the header right width area content floating over the header background image as well as how the image behaves on smaller screens widths.
2. Demo Video – Logo Over Header Image
This video shows you how to float your logo over the header background image via the WordPress customizer as well as how it reacts on smaller screens.
Here’s the 2 minute setup instructions for logged in users:
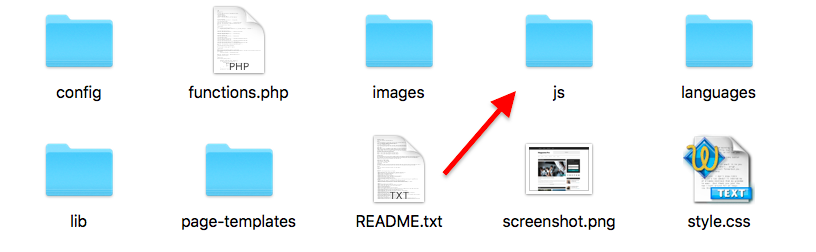
After you download this folder, you’ll find a functions.php file and a js folder.
- # Copy the PHP code from the functions.php file to the end of your child themes functions.php file.
- # Add the 2 js files in the js folder to your child themes js folder or upload the entire js folder if your theme does not include one.
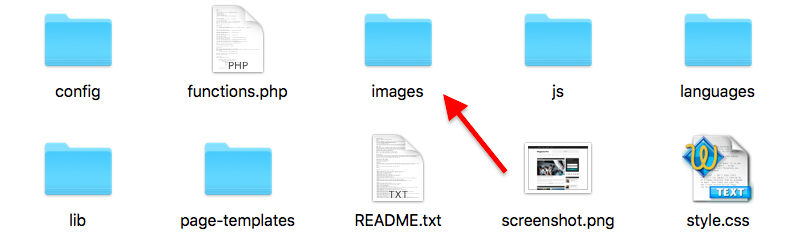
- # Upload your header image to your child themes image folder and name it header.png so it matches the file name and extension in the PHP code.

Change Header Height
You can adjust the height of your header on line 883 of style.css like this:
.site-header {
    height: 200px;
}

/*
@media only screen and (max-width: 767px) {

.site-header {
    height: 120px;
}

}
*/
Or copy & paste the above CSS to the end of the Lifestyle Pro themes style.css file and clear caching.
Leave a Reply
You must be logged in to post a comment.