
This tutorial adds a custom left and right menu that work with your custom logo and display inline using CSS grid.
If you’re using a new version of the Genesis Sample child theme which includes a config > theme-supports.php file rather than a menu.php file used in older versions, then this is the right solution for you. Here’s what it produces :
![]()
Otherwise, see the links to related posts at the end of this tutorial which provide solutions that work with older versions of the Sample theme for Genesis.
Demo Video
Shows the left and right menu with the custom logo in the center on desktop screens and both menus added to the responsive drop down menu on smaller screens below 960px width.
Tested using Genesis Sample theme version 3.4 & 3.4.1 however will work in any version that includes a theme-supports.php file.
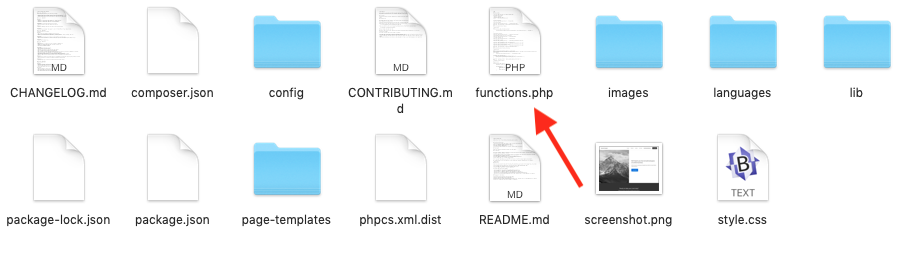
Installation Steps
- # Remove or comment out the PHP code around line 147 in functions.php ( and 212 in newer versions ) which adds the primary menu to the genesis_header hook.
- # Copy & paste the PHP code from the functions.php file to the end of your Genesis Sample themes functions file.
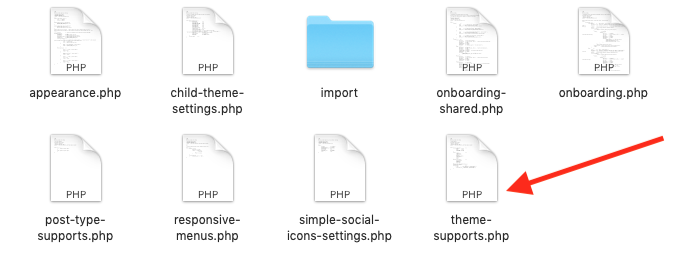
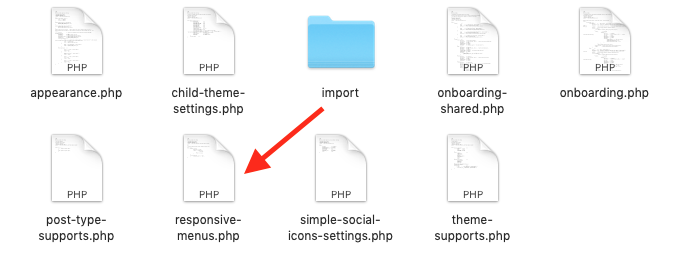
- # Upload the theme-supports.php file to your Genesis Sample themes config folder replacing the default file of the same name or edit the code using the theme-supports.php file as a guide.
- # Upload the responsive-menus.php file to your Genesis Sample themes config folder replacing the default file of the same name or edit the code using the responsive-menus.php file as a guide.
- # Create 2 new menus named left and right
- # Copy & paste the CSS from the style.css file to the end of your Genesis Sample themes style sheet and clear caching.


Versions 3.4.1 & Newer
Note : If using Genesis Sample theme version 3.4.1 or newer, use the CSS from the style-2.css file instead of the style.css file.
Leave a Reply
You must be logged in to post a comment.