
By default the Daily Dish Pro theme by StudioPress enables you to add a logo in your header which is 400px width by 80px in height.
You can simply use the customizer to go to the Header link and add it like you see in the following screen shot:
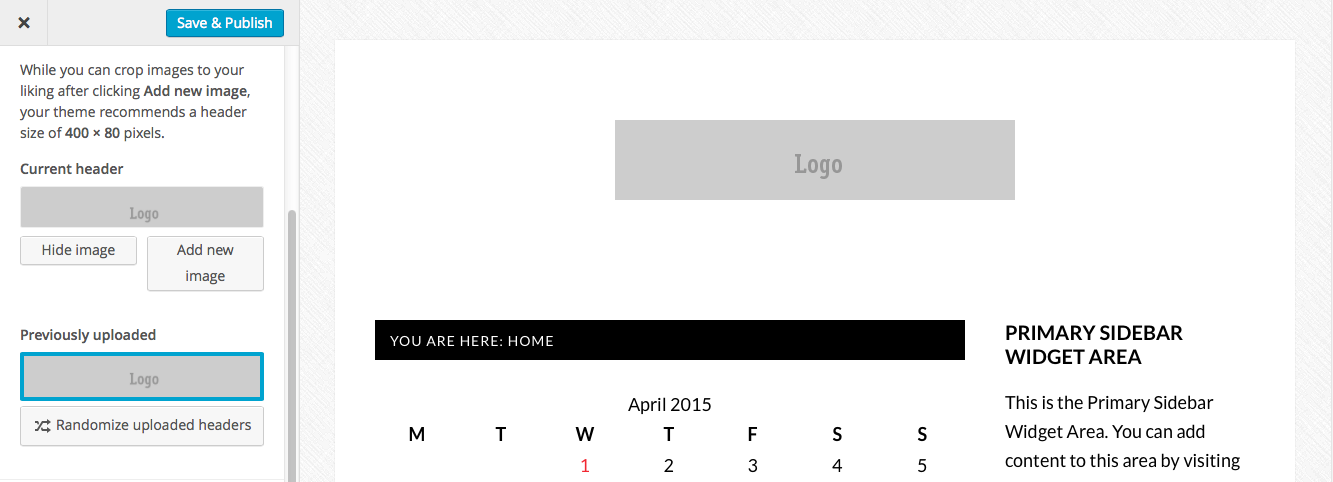
Here’s what your image will look like in the header on the front end:

But what if your image is a different size?
You’ll need to modify the code in your child theme otherwise WordPress will force you to crop your image when you try and add it using the above technique.
Here’s the 2 simple steps you need to take to change the values in the code to match the same width and height of your custom header image:
This demo will show you how to add a full width header image which is 1200px width by 200px height. Simply change these dimensions to match your image size.
1. Using FTP, navigate to your child themes functions.php file on Line 51 and 52.
Using a code editor, change the width and height to 1200px width and 200px height:
add_theme_support( 'custom-header', array(
	'header-selector' => '.site-title a',
	'header-text'     => false,
	'height'          => 200,
	'width'           => 1200,
) );
2. In your child themes style.css file on Line 1149 and 1151, change the height and width to match your image which in this demo is 200px height and 1200px width:
.header-image .site-title > a {
	background-position: center !important;
	background-size: contain !important;
	display: block;
	height: 200px;
	margin: 0 auto;
	max-width: 1200px;
}
Now you can add your custom header image and you’ll see the dimensions have changed when you add it in the backend as seen in this screen shot:
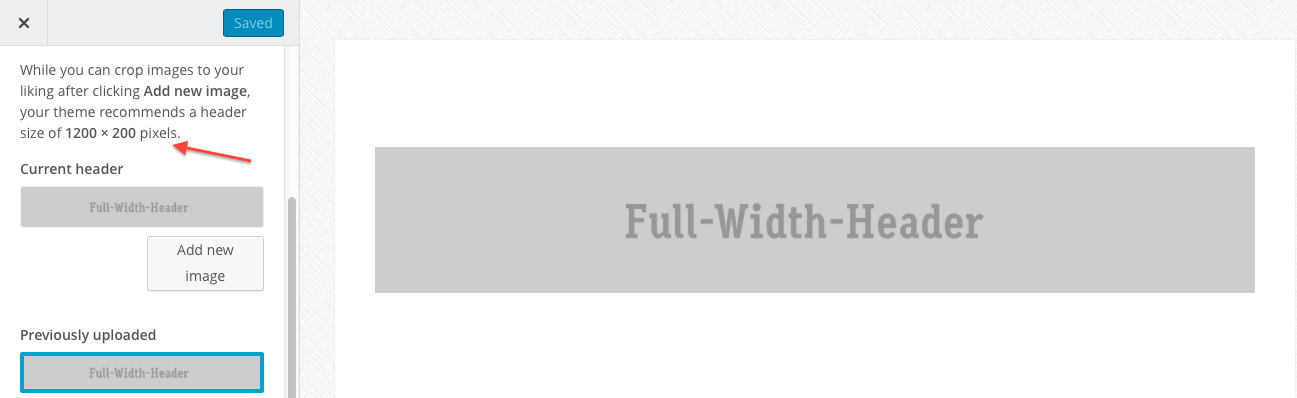
And here’s the front end result:

You may need to clear any server side/plugin or browser caching to see the changes on the front end.
Leave a Reply
You must be logged in to post a comment.