Add Header Image After Site Title & Description Via Customizer In Genesis

This solution gives you pretty much the same result as the code in this tutorial however you can add your image via the customizer rather than upload it to your child themes images folder.

Code Installation

Add the PHP code to the end of your child themes functions file. Thats it!

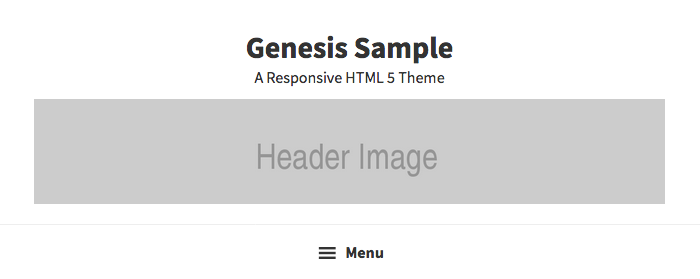
You can then upload your image via the customizer using the Custom Header Image setting as seen in the following screenshot :

You can also add a default in your child themes images folder named header.png.

Tested using the Genesis Sample child theme by StudioPress.

Here’s the code for logged in members :


Comments

4 responses to “Add Header Image After Site Title & Description Via Customizer In Genesis”

  1. That works smoothly. The only thing is I can not “hit” it with CSS. It should be .site-title a or just .site-title but it doesn’t seem to work. Will keep on trying though. Thank’s.

      1. Brad Dalton Avatar
        Brad Dalton

        What was the problem?

        1. No not really a problem. Just that instead of using .site-title and .site-description I had to use h1.site-title and p.site-description.

Leave a Reply

Join 5000+ Followers

Get The Latest Free & Premium Tutorials Delivered The Second They’re Published.