
The new Genesis 2.0 HTML 5 enabled Sample child theme is not only free, its become very popular. Its a fairly minimalistic theme however you can add support for more functions fairly easily.
Update : Here’s the new solution if using the new version of the Genesis Sample theme.
One feature it doesn’t include, is a built in Custom Header page which many other child themes built on Genesis already include by default.
In many cases, you don’t really need a custom header uploader to add an image however i’ll provide the code which adds one to this theme as another option.
Upload Logo or Header To Images Folder
Firstly, lets look at the easiest way to add your logo or another image in the header of the Sample child theme.
On Line 889 on this themes style.css file you’ll find the CSS which effects the logo image already included in the images folder.
.header-image .site-title > a {
	background: url(images/logo.png) no-repeat left;
	float: left;
	min-height: 60px;
	width: 100%;
}
This makes adding your own logo super easy. Simply upload your image to your images folder and overwrite the default image named logo using a .png extension.
Also make sure you have selected image logo in your Genesis > Theme Settings > Header settings.
![]()
The default size for the logo is 360px width by 164px height.
![]()
No CSS or PHP coding needed.
How about if we change the size and use a image which is 320px width by 164px height.
![]()
Works fine also.
And it even works o.k for a logo which is less than 164px in height.
![]()
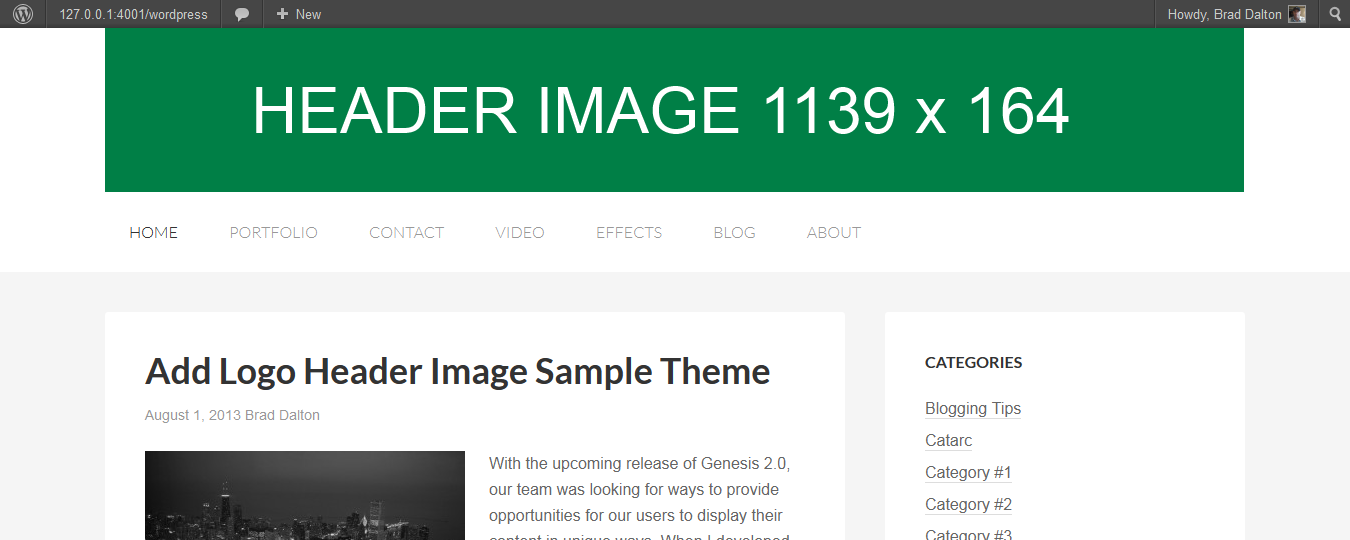
But how about if we use a full width header image which is 1139px width x 164px height? Still works well as long as the header image is named logo with a .png file extension.
Lets now look at using PHP code to add a Custom Header page for logos and header images.
Change Header Height
If your header image height is larger than the default, you will need to modify the value for the height in the CSS code on Line 1086 on your child themes style.css file.
.header-image .site-title a {
	float: left;
	min-height: 164px;
	width: 100%;
}
You’ll need to do this regardless of whether you use the pure CSS method or PHP code to add your header image.
Add Custom Header Using PHP Code
//* Add support for custom header
add_theme_support( 'custom-header', array(
	'flex-height'     => true,
	'width'           => 1200,
	'height'          => 200,
	'header-selector' => '.site-title a',
	'header-text'     => false,
) );
The dimensions used in this code need to match the width and height of the image you upload or the function will force you to crop the image before uploading.
Lets look at a very simple example. If you changed the values in the above PHP to 1139 x 164 and try to upload an image which is 1139 x 100px, this is what happens.
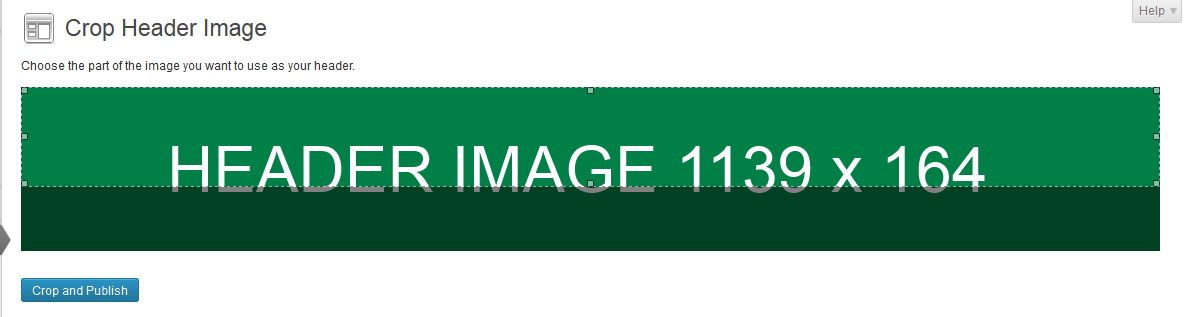
add_theme_support( 'custom-header', array(
	'default-text-color'     => 'ffffff',
	'header-selector'        => '.header-image .site-header .wrap',
	'height'                 => 164,
	'width'                  => 1139,
) );
So that’s an easy fix as you simply make sure the image is exactly the same size as the values in the PHP code for width and height.
How about if you want your logo to display on the far left of your header? You can do this by editing the CSS code in your style sheet or use PHP code in your child themes functions file.
If you remove the line of PHP code which includes the headers like these:
'header-selector' => '.header-image .site-header .wrap',Then you can move your logo over to display from the far left of your site.
add_theme_support( 'custom-header', array(
	'default-text-color'     => 'ffffff',
	'height'                 => 164,
	'width'                  => 320,
) );
And here’s the result:
![]()
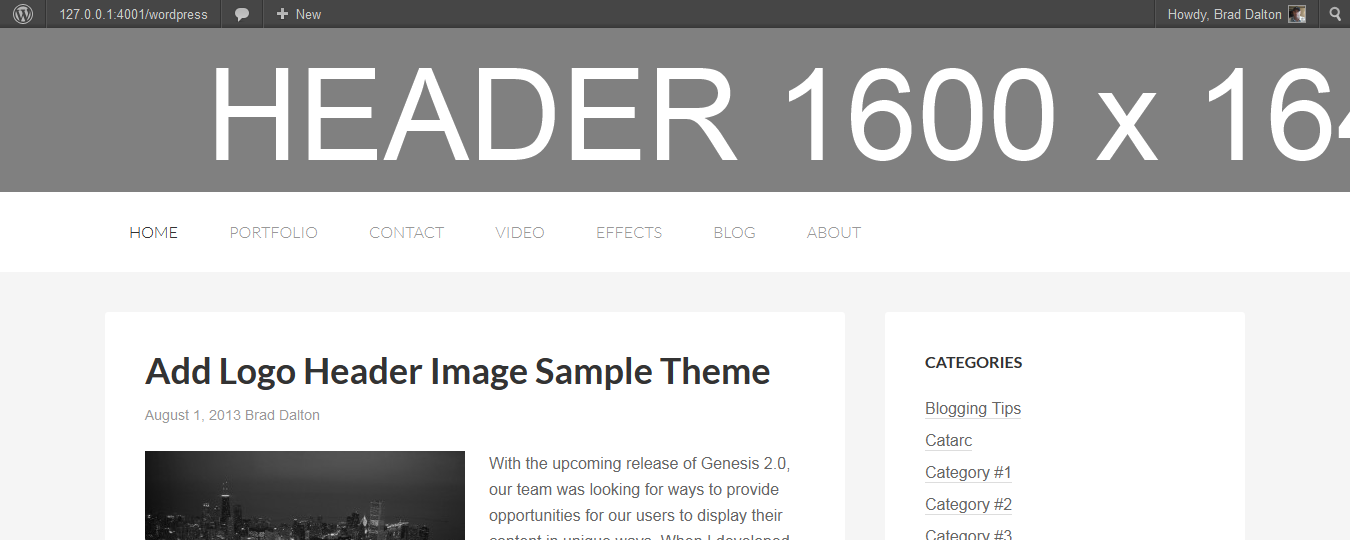
How about adding a full width header image which extends from one side of the site to the other?
If you upload an image to your images folder which is wider than 1139px it won’t display full width. Here’s an image which is 1600px x 164px that i added to the images folder and named it logo.
![]()
To make this work, you can use this PHP code and change the value for the width as well as removing the line of code for the header selectors:
add_theme_support( 'custom-header', array(
	'default-text-color'     => 'ffffff',
	'height'                 => 164,
	'width'                  => 1600,
) );
And here’s the result when adding the new full width image using the Custom Header page which the code creates.
The only problem with this method is you’ll need to make sure the logo or header image text in your image is aligned center so it looks perfect when viewed on different sized screens.
Learn more about How To Add Full Width Images In Any StudioPress Themes.
How About Different Header Images Of Different Sizes
You can also use different header images on different pages of your site even if they’re not the same size.
Video
This video shows you how to add a custom header image in Genesis child themes.
Leave a Reply
You must be logged in to post a comment.