
Creating page templates in Genesis is fairly easy. All you need to do is copy an existing page template like the page_landing.php file and make changes to the code in the file.
By default, most landing page templates generate a content area which is fairly narrow which you can change in your themes style.css file or use this code to create a new one.
In this tutorial, i’ll show you how to create both a full width landing template and a narrow width template for people who use the Genesis design framework.
Wide Landing Page Template
Simply create a new file using a code editor like Notepad++ and name it something like page_custom.php.
Paste in this code and upload the new file ( With a opening php tag on the very first line of the file ) to your themes folder.
/**
 * This file adds the Custom Landing template to the Metro Theme.
 *
 * @author Brad Dalton
 * @package Generate
 * @subpackage Customizations
 */

/*
Template Name: Custom
*/

// Add custom body class to the head
add_filter( 'body_class', 'metro_add_body_class' );
function metro_add_body_class( $classes ) {
   $classes[] = 'custom-landing';
   return $classes;
}

// Remove header, navigation, breadcrumbs, footer widgets, footer
add_filter( 'genesis_pre_get_option_site_layout', '__genesis_return_full_width_content' );
remove_action( 'genesis_header', 'genesis_header_markup_open', 5 );
remove_action( 'genesis_header', 'genesis_do_header' );
remove_action( 'genesis_header', 'genesis_header_markup_close', 15 );
remove_action( 'genesis_after_header', 'genesis_do_nav' );
remove_action( 'genesis_before', 'genesis_do_subnav' );
remove_action( 'genesis_before_loop', 'genesis_do_breadcrumbs' );
remove_action( 'genesis_after', 'genesis_footer_widget_areas' );
remove_action( 'genesis_after', 'genesis_footer_markup_open', 11 );
remove_action( 'genesis_after', 'genesis_do_footer', 12 );
remove_action( 'genesis_after', 'genesis_footer_markup_close', 13 );

genesis();
Here’s what the above code produces using the Metro child theme by StudioPress:
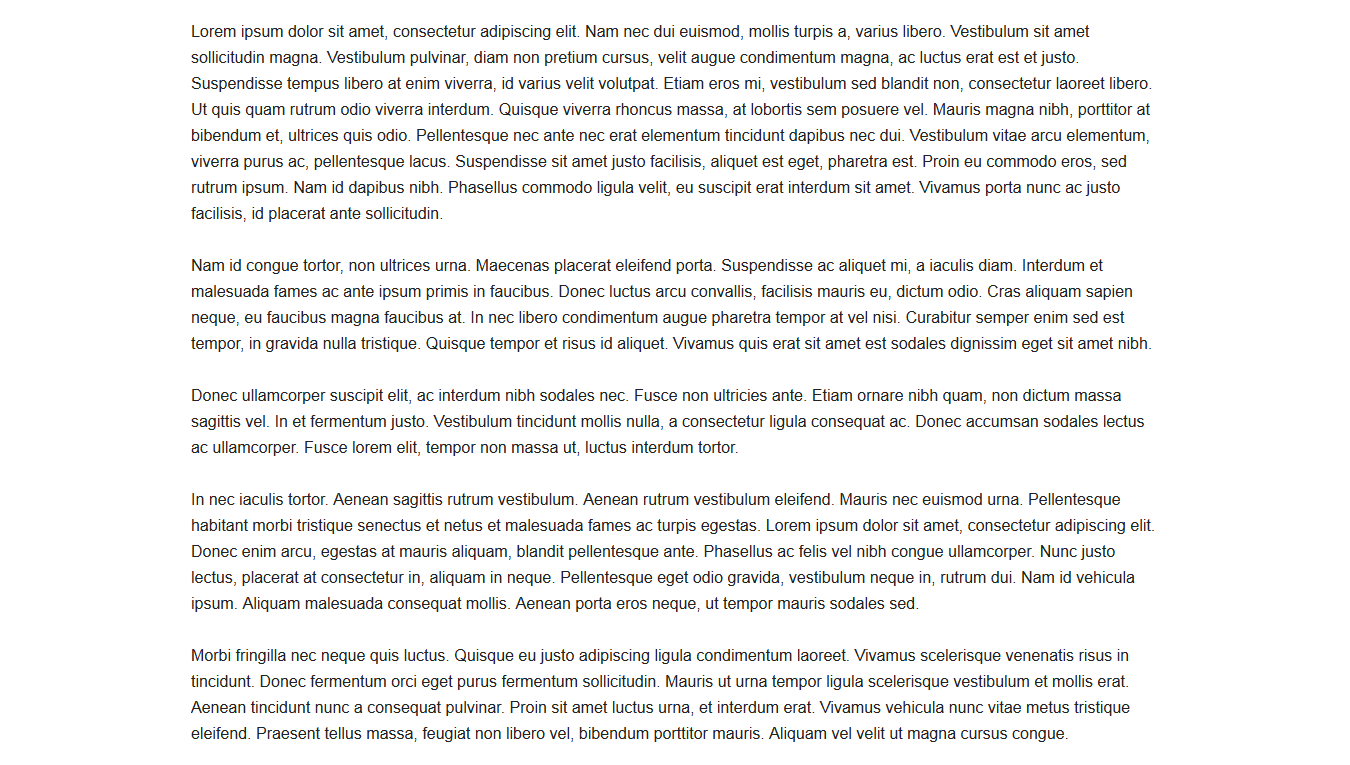
You can style your landing page using the new custom class generated by this code.
Narrow Landing Page Template
Update: Uses the old XHTML markup. The CSS code below creates a template with a narrow content area otherwise use the PHP code above without any styling.
.custom-landing #wrap {
	max-width: 500px;
}

.custom-landing #inner {
	padding-top: 0;
}
New HTML 5 Markup
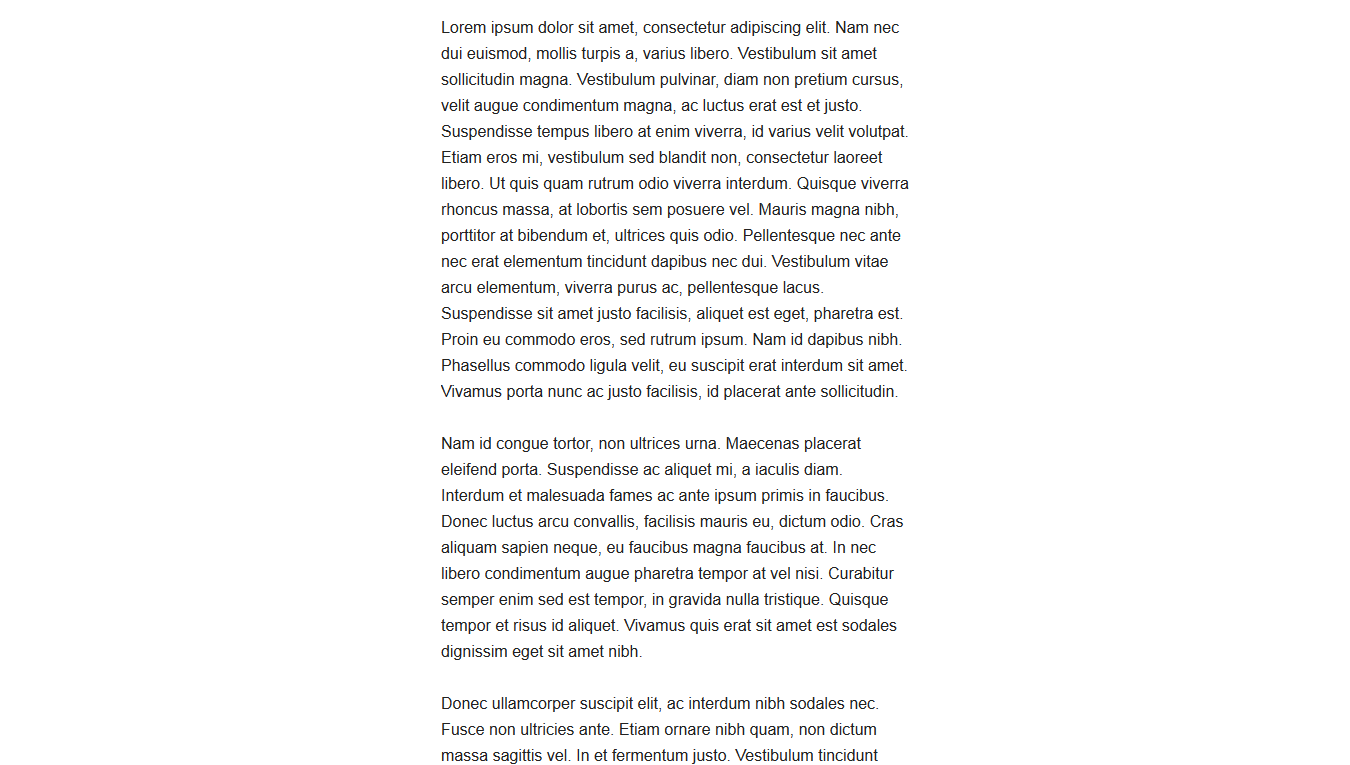
.custom-landing .site-container {
max-width: 800px;
}
After adding the above CSS code, here’s the result:
Adjust Width
Simply use this code in your child themes style.css file to adjust the width of your landing page content area by percentage:
.custom-landing #wrap {
	max-width: 100%;
}
New HTML 5 Markup
.custom-landing .site-container {
max-width: 100%;
}
Leave a Reply
You must be logged in to post a comment.