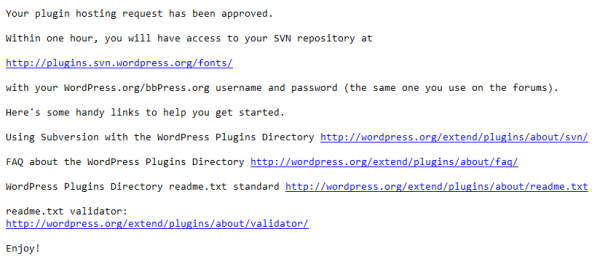
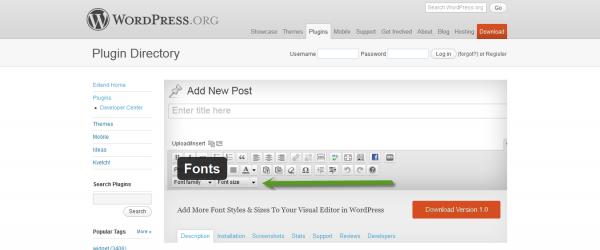
Once you’ve gained approval to add your plugin to the WordPress plugin directory, you’ll need to upload your files (Checkin) to the repository using subversion.
 You’ll find some links in this email which lead to some very comprehensive information on the WordPress Codex.
You should follow these links and get your readme.txt file validated as well as reading the FAQ’s and SVN info.
You’ll find clicking the first link displays a directory tree like this.
You’ll need to add your files using subversion.
You can do this 2 ways:
- Using command line code or
- Installing a SVN client
Note: Refer to the WordPress codex with more information on command line otherwise simply install an SVN client.
SVN Client
An SVN (subversion) client is a bit like a simple FTP program.
This is the process i used to add my plugin to the WordPress repository:
- Install SVN client locally
- Checkout a copy of the directory structure to your local computer
- Drag in your plugin files (NOT folder) into the trunk folder
- Add your reademe.txt file to the trunk folder
- Add your banner to the Assets folder
- Checkin your local repository
Install SVN Client
You can upload your plugin files to the repository after installing a subversion software client on your local computer.
There’s one for Mac and one for Windows.
Checkout Directory Structure
You can create some folders for your local repository or simply checkout the directory structure which has been setup already.
Simply enter the url to your plugin repository which will be sent to you once your plugin has been approved.
Enter the path to you local repository.
Local Repository
This is what a typical directory structure for a plugin repository looks like on a local computer.

When a directory is red, it means you’ve made changes to your files but haven’t yet committed your revisions to the WordPress repository.
Checkin (upload & commit) Plugin Repository
This is you moment of glory!
Using your SVN client, checkin and commit your repository of plugin files, readme.text and banner to be hosted in the WordPress plugin repository.
This screenshot shows a revision to the banner file being committed however you will need to commit all files.
Make sure you add a message or your files will not be committed.
The screenshot below shows the plugin files, readme.text file and banner revisions committed to the plugin repository.
Your plugin will be live within minutes of a successful commit.
WordPress Plugin Directory
Congrats!
You’ve successfully added you plugin to the official WordPress plugin directory and can make revisions to the files at any time using subversion.


Leave a Reply
You must be logged in to post a comment.